Changing a fuel filter is an easy task for the DIY mechanic. It may seem intimidating to work on your fuel system at first but you can replace your fuel filter safely and easily. Just use a good service manual for your car and the information in this article and you should be good to go.
How Often Should the Fuel Filter Be Changed
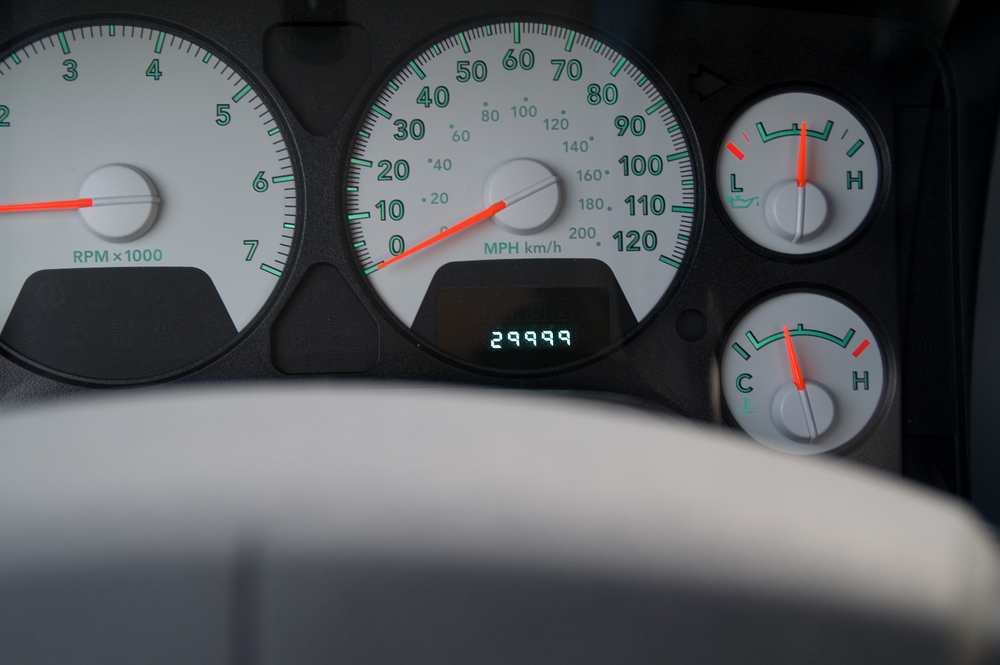
 Changing your fuel filter every 30,000 miles will prevent damage to your engine and fuel system.
Most manufacturers recommend changing fuel filters every 30,000 miles under normal conditions. Drivers will find there are lots of times when a fuel filter might need to be changed more often. If you have never changed a fuel filter, it is an easy job to do at home.
If your car has been sitting for a long time, you should plan on replacing the fuel filter before starting the car. Generally, gasoline stored in a gas tank should last three to six months before breaking down and losing its volatility. Replacing the fuel filter can be a good opportunity to check the condition of the gasoline prior to starting a car or truck that has been sitting for longer than six months.
Symptoms of a Bad Fuel Filter
The first thing most drivers notice when the fuel filter has gone bad is typically a check engine light. Other indications of a bad fuel filter drivers may notice are poor fuel efficiency, sluggish acceleration, and stalling. Many of today's fuel-injected cars and trucks are capable of masking the symptoms of a bad fuel filter until it is too late.
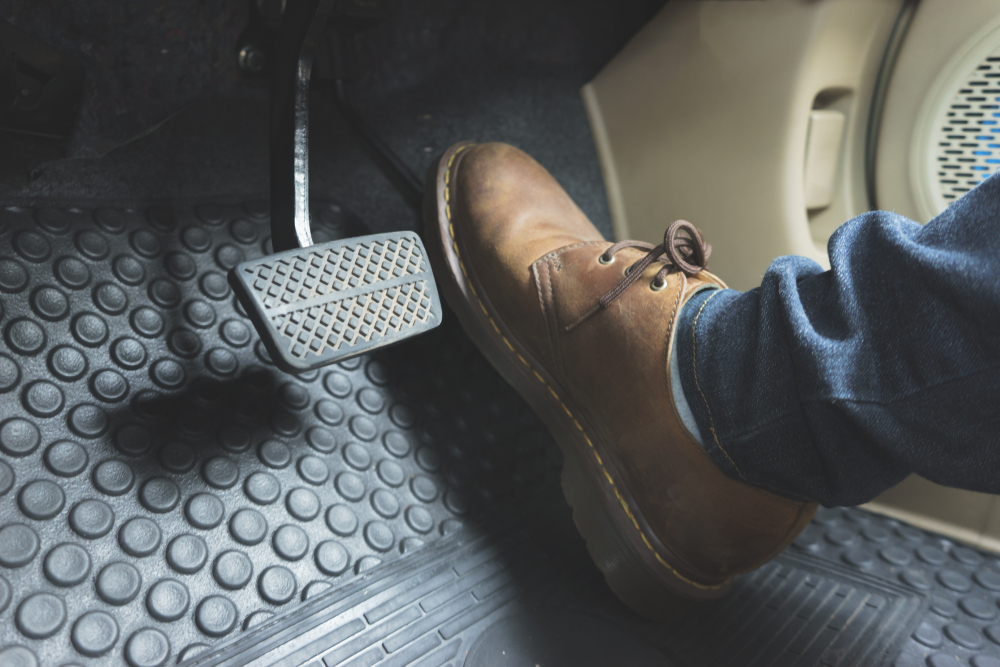
 A common symptom of a dirty fuel filter is sluggish acceleration. If you notice that you are having to press the gas pedal down farther than usual, it might be time to change your fuel filter.
If your car has a severely dirty fuel filter, it can allow dirt and debris to get into your engine. A bad fuel filter can cause the engine to run hotter than usual and may even damage sensitive exhaust components.
Benefits of Changing the Fuel Filter
The main benefit of changing the fuel filter in your car is to prevent damage to other critical engine systems. Another benefit could be a significant increase in gas mileage and an improvement in power. Changing the fuel filter on your car at home can make you save money over using a repair shop.
When a DIYer changes his fuel filter at home, it is a good opportunity to check on the condition of your fuel lines and fuel tank. When you change the fuel filter, you will be able to see the condition of the gasoline in your car. You will know that your gas tank is rusted or corroded if the fuel colored red or copper.
The Difference Between Old Gas and Bad Gas
Old gas will still burn most of the time, and shouldn't cause any serious problems. Contaminated gasoline should be collected and disposed of at an approved recycling center or hazardous waste facility. It is easy to tell the difference between old gas, bad gas, and clean gas.
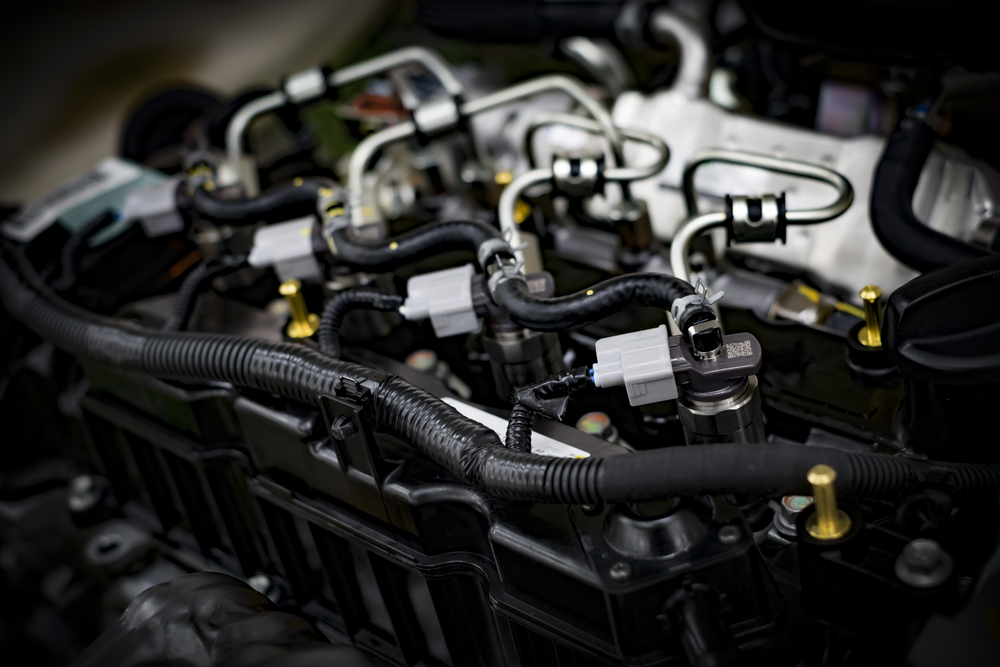
 One of the first components that can be damaged by a dirty fuel filter is fuel injectors. Injectors are expensive to have cleaned and even more expensive to replace.
You should start with a small amount of new, fresh gasoline in a glass jar. Drain about the same amount of gasoline from the gas tank into a second jar. It is often easiest to drain gasoline from the vehicle by disconnecting the fuel line at the filter. Old gas will look more yellow than fresh gasoline. It may even smell sour. Contaminated gasoline will be darker, sometimes chocolate milk-colored or rust-colored. You should replace contaminated fuel and fix any potential problems with your fuel system that could cause contamination before starting the vehicle.
Causes of Contamination
The number one reason gasoline becomes contaminated in vehicles that have been sitting for a long time is due to rust and corrosion in the fuel tank. If the old gas in the tank is the color of rust, it is a safe bet that the tank is rusted. There are DIY ways to clean a gas tank that is rusted, but in most cases, it is easier to replace the tank with a new one. Keep in mind that most recent vehicles are equipped with gas tanks made of plastic. Since plastic doesn't rust, the risk of finding rust contaminated fuel in your tank is greatly reduced.
If the old gas is brown or coffee-colored, it could be dirt in the tank. To fix this problem, complete removal of the tank will be required to clean it thoroughly. If you need help with that, get your hands on your car's workshop manual so you can easily follow the steps needed to remove, clean or repair, and reinstall the gas tank on your vehicle.
How to Replace Your Fuel Filter
Safety first! Always work safely around gasoline and fuel lines. Gasoline vapors are flammable and can ignite suddenly. Do not smoke or work around an open flame when servicing your fuel system. You should make sure there is plenty of ventilation at all times. Use a fan if you are working in a garage and keep the garage door open. The best place to work on your fuel system is obviously outside even if it's not always possible.
 Fuel injection systems are under high levels of pressure, even when the car is off. Make sure to read your service manual before working on your fuel system to find the best way to relieve fuel pressure.
The first thing to do is to check in your vehicle repair manual and locate your fuel filter. Most modern, fuel-injected cars will have two fuel filters. The primary filter will be in the gas tank and is not easily serviced. The fuel tank filter is typically serviced when replacing the fuel level sender or the fuel tank. This filter is typically intended to block only the larger particles and debris.
The fuel filter is installed in line with the fuel lines running from the tank to the fuel injection system. Fuel-injected cars will have pressurized fuel at all times, even when the engine is off. You should refer to your repair manual for any specific procedures to release the fuel pressure for your vehicle.
If you try and remove a fuel filter before releasing the pressure, gasoline will spray everywhere. If you get gasoline on anything, you should clean it up immediately because gas is highly corrosive and can irritate the skin.
Relieving Fuel Pressure
The general way to release fuel pressure will require that you are able to locate the relay or fuse for the fuel pump. You can remove the fuel pump fuse or relay and crank the car or truck. The vehicle will not run for more than a few seconds without fuel pressure. Some vehicles may not allow the vehicle to be started without the fuel pump fuse. In these vehicles, you can usually start the car, then remove the fuse. Let the car run until it dies out so you are sure there's no more pressure in the system.
Both methods are safe and will work to remove the pressure. Once you have removed the fuse, set it in a safe and memorable place, then disconnect the negative terminal from the battery to prevent any risk of spark while you work.
Disconnecting the Fuel Filter
Today's fuel-injected cars typically use quick disconnect fittings to remove and attach the fuel filter. You will need special tools to remove the fuel filter. Fortunately, most major auto repair stores can rent you the tools needed to disconnect the fuel filter connections.
The fuel filter on your car is typically held in place with a bracket or clamp. Removing the screws will release the clamp.
The quick disconnect tool slides into the coupling and the line should come loose. Make sure to stay clear of the fuel line when removing the filter as there is likely to be fuel in the filter. Be prepared with a drain pan underneath the area you are working on when you remove the fuel filter. You will find fuel still in the line. It is a good idea to drain the fuel line into a glass jar when possible. This allows you the opportunity to inspect the condition of your gasoline.
Reconnecting the Fuel Filter
Inspect the new filter carefully before installing it back into the car. Sometimes, bits of packaging material or even left-over bits of plastic or metal may be in the inlet or outlet pipes. Fuel filters will usually indicate the direction of fuel flow. Installing the filter backward will cause serious problems.
The filter should snap into the quick connectors easily. Reattach the clamp or bracket that holds the fuel filter in place. Do not tighten the screw down too much. You can strip or break the screw easily. It is not safe for you to drive the car without the fuel filter securely mounted to the body of the vehicle.
Lightly tug on the fuel lines. If the clips on the quick connector engaged, the fuel line should not move. If you pull the line out, press it in again until it clicks correctly in place.
Sometimes, quick disconnect fittings will break when replacing the fuel filter. You can usually replace the connectors with spares bought at your favorite local auto parts store or online.
Testing Your Work
Replace the fuse for the fuel pump and reconnect the negative cable of the battery. When you turn the key to the ON position, the fuel pump should start building pressure. You should hear the fuel pump cycling a couple of times and stop.
 After replacing your fuel filter, check for leaks with the car running. If you see a leak, immediately shut the car off. It is a good idea to have an absorbent material, like clay cat litter, when working on your fuel system to catch leaking fuel and keep it out of storm drains.
Start looking for leaks beginning at the quick disconnect fittings. A bad leak will appear immediately, while a small leak may only show up after a minute or two. Once you are sure that you have no leaks, start the engine and check again. If you notice any leaks, shut the engine off. If the quick disconnect fittings are leaking, you should take them apart and check for debris that is preventing a good seal.
Wrapping It Up
Changing the fuel filter on your car or truck is an easy job to do at home. If you use a good service manual, the job is even easier. Changing your fuel filter every 30,000 miles or five years is good preventative maintenance that will prolong the life of your car or truck.
