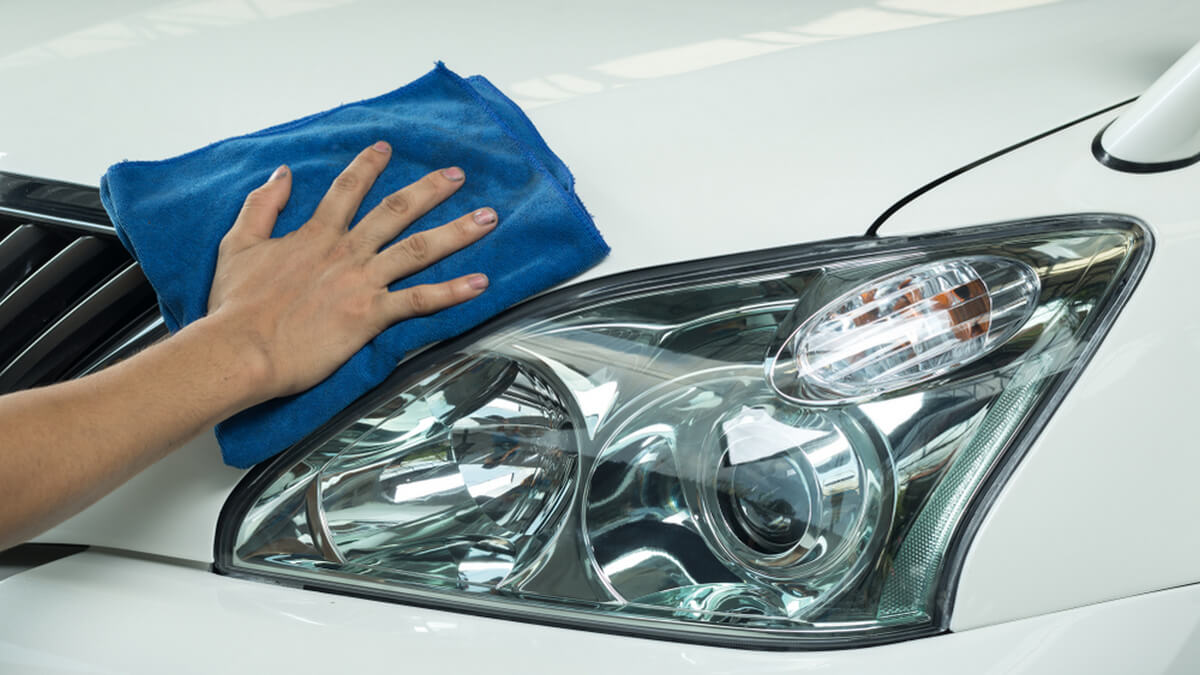
We can safely say that most vehicle owners today maintain the mechanics of their cars properly. The next oil replacement is literally around the corner thanks to the extensive network of dealers for all popular car brands. Nonetheless, keeping your vehicle maintained is not only about ensuring that your mechanics are in shape or making sure that the brakes function correctly. Other bits that aren’t always covered by traditional maintenance also play a significant role in vehicle safety. Things like windshield wipers and headlight maintenance are essential to everyday driving – if they don’t function properly, they can severely limit visibility. Excellent visibility is the first line of defense against crashes, mind you.
While windshield wipers are easy to replace – you can find them at every gas station, keeping your vehicle's headlights clear is not as straightforward as it sounds. Sure, most drivers know how to change the bulbs to ensure that they at least shine, but what if the front element of the headlight is yellowish or foggy? You may think that this is only a problem related to how your vehicle looks, but you’d be wrong. Frosted headlights not only look bad – they also don’t shine nearly as bright as if they were clear.
The good news is that this problem can be easily nullified with simple headlight maintenance. This process is not very complex and can be done by seemingly everybody with the right tools. Here we will discuss how to do the headlight restoration yourself, how to keep headlights clear for longer, and also give you some headlight safety tips.
Why do headlights become frosty and yellowish in the first place?
The front element of almost any headlight today is made of polycarbonate plastic, which is one of the most robust translucent materials in terms of impact strength – better than glass in that regard. It is also much cheaper than glass, which is why car manufacturers use it almost exclusively for headlights. However, polycarbonate is worse in other areas, namely resistance to UV radiation and abrasion.
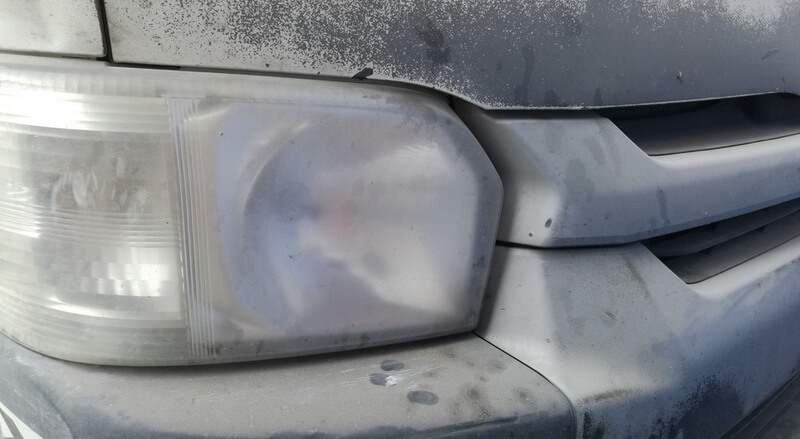
To mitigate the weaknesses of polycarbonate plastic, headlight manufacturers use special protective coatings to cover the front element. These coatings surely do what they’re supposed to, but only for a limited time. Due to extensive abrasion from pollutants in the air, such as small stone chips and debris, the coating can easily be scraped off the plastic and leave the plastic susceptible to much more significant damage. When that happens, the UV radiation from the sun will quickly make the headlights look yellow, while abrasion and oxidation will take care of frosting. Most of the spoiled lights are usually struck by UV radiation, oxidation and abrasion at the same time, which can severely limit the visibility at night. To extend the lifespan of the protective coating, regular headlight maintenance is highly recommended regularly. However, once your headlights are already frosty, headlight maintenance won't do and you'll need to use and headlight restoration kit instead.
How to use headlight restoration kits?
Luckily for those that have frosted or yellowish headlights, the market is flooded with headlight restoration kits. They are pretty inexpensive (usually cost from $15-$30) and are very easy to use. Most of them come with everything you need for complete headlight restoration, such as restoration or polishing pads, lens clarifying or polishing compound, spray lubricant, and lens sealing wipes or UV resistant clear coatings.
Most restoration kits come with a user manual that explains the process of cleaning the headlights. That said, there are still some steps that might not be listed there, especially ones regarding the protection of other parts on your vehicle.
Instructions:
- Open the bonnet and carefully mask the area surrounding the headlight with a tape. By doing this, you will ensure that the polishing pads don’t touch the paint of the vehicle as they can easily scratch the paint. Use as much tape as you need or feel comfortable to work with.
- Clean the headlights with a damp cloth to remove contaminants. Wait until the plastic dries off.
- The next step is to use the restoration or polishing pads. Restoration kits usually come with drill-based pads, but there are some kits with pads that can be used by hand. For best results, it is recommended to use drill-based polishing pads, but if you don’t have a drill at home, others can do the job just fine. Use the polishing pads according to the instructions in the manual, starting from the coarsest to the finest. Use a cloth to remove the particles between each step.
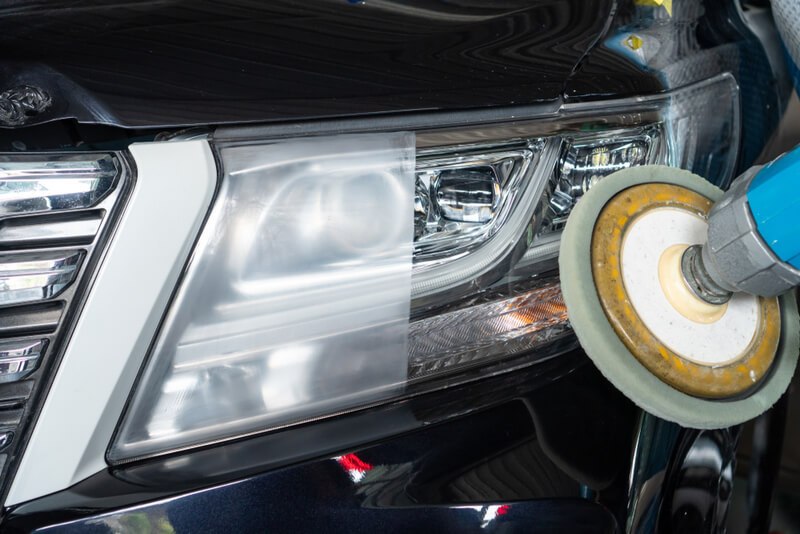
- The coarser pads (lower grit number) will get rid of more substantial scratches and irregularities on the surface of the plastic and should be used without a lubricant or water. These pads should leave a smooth finish on the surface, but the headlight will still look matte.
- Finer polishing pads (larger grit number), on the other hand, should be used with a lubricant. Use the lubricant to dampen the polishing pad and the plastic before starting the process of fine polishing. These pads should remove the matte finish on the headlight and leave the plastic with a slightly cloudy finish.
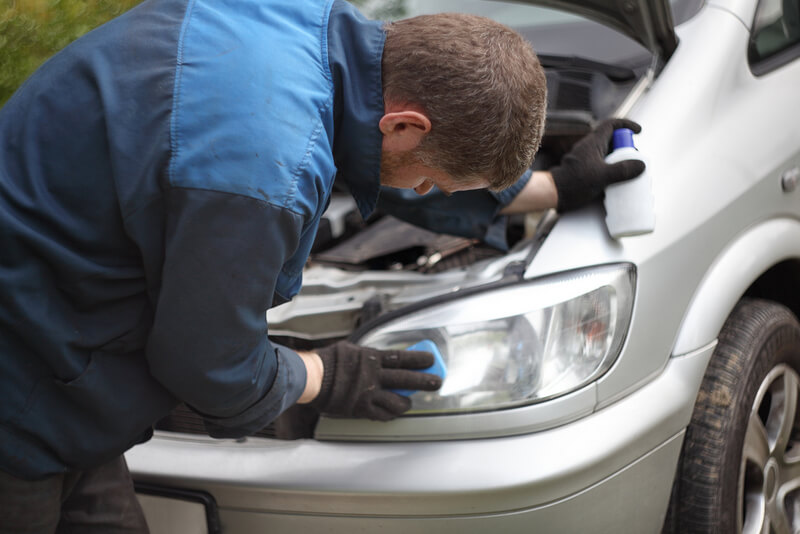
- To completely get rid of the cloudiness, use the lens clarifying compound with a sponge (should be provided) to give the headlights new shine. Apply the compound over the whole surface of the headlamp before you start polishing. Finally, remove the remaining compound with a clean cloth. The headlights should be shiny by now. If not, repeat the process starting with the finer pads.
- Finally, use a lens-sealing wipe or a UV resistant clear coating (as provided in the kit) to ensure that the headlights are protected from further damage. If possible, keep the protective coating in your vehicle at all times and apply it every time you wash the car. This step is part of the preventive headlight maintenance needed to ensure they stay clear for as long as possible.
Some household items can also clean your headlights
For slightly frosted headlights, some household items can be used to make them shiny again. While some people recommend the use of vinegar, the best results are obtained by using toothpaste mixed with baking soda. Toothpaste works particularly well due to the plaque-removing chemicals in the solution.
When using toothpaste, the preparation is the same as using a restoration kit. Surround the headlight with tape and clean it with a damp cloth. Then, apply the toothpaste-soda mix to a sponge or toothbrush and start polishing the headlight with circular motions. Please note that this can take a while before you see visible improvement and rushing it won’t help. It is recommended to do it slowly. Remove the remaining toothpaste with a towel and water after you’re satisfied with the results.
This process will undoubtedly help cleaning your headlights. However, applying a protective coating as part of your headlight maintenance routine will keep them in good shape for longer.
Do restoration kits work on cracked headlights?
While headlight restoration kits work flawlessly on frosted headlights and colored headlights, they don’t work if the headlight is cracked. If it's your case, your headlight will need to be replaced instead.
Even if you think that you can’t do the job restoring properly, or don’t have the time, a lot of Body & Paint services and mechanics offer headlight restoration and repairs. Body repair shops often have the best experience with this type of work. Auto detailing shops are also a good idea.
Regular headlight maintenance is key!
Most modern vehicles have board computers notifying the driver when one of the headlights stop working. When that happens, it is recommended that you immediately check which bulb is dead and replace it. If you don’t already have them in your car, you can find replacement bulbs at the nearest gas station. In case you need help finding the right bulb for you, take a look in your car's owner manual. If the problem persists after the replacement, visit a car electrician.
