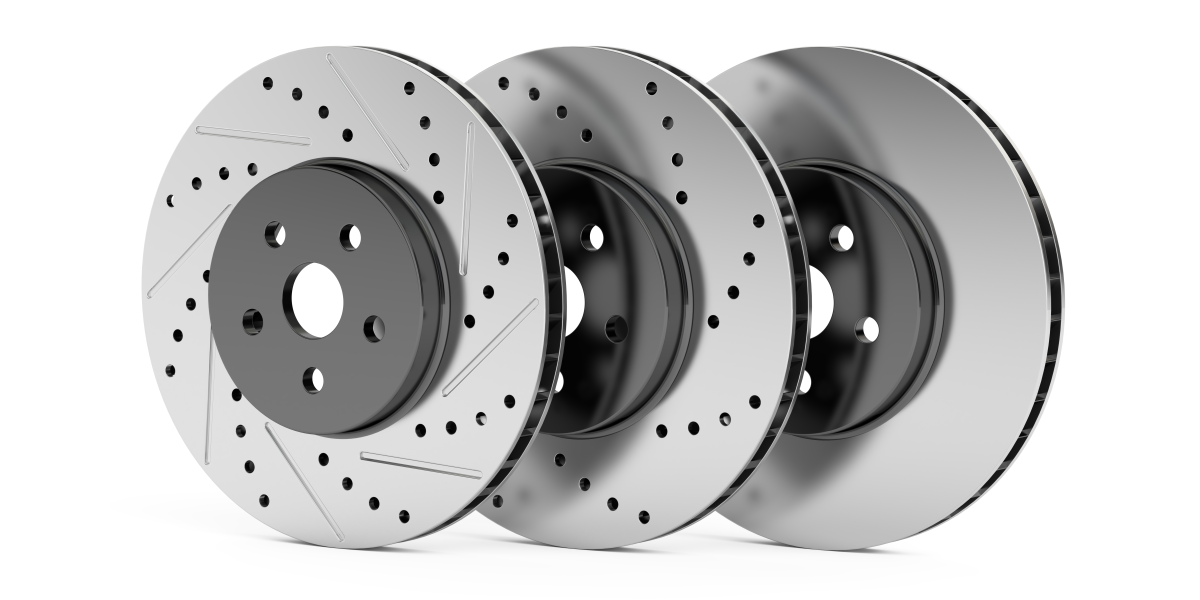
Everything you need to know regarding brake rotors replacement costs and how to do it right!
There is no doubt that the braking system is one of the essential parts of any car. Many people put off servicing the brakes on their car for fear of a massive bill from the mechanic. The idea of replacing such a vital component seems too risky for many owners. The truth is that manufacturers have made most brake service jobs reasonably easy to do. Moreover, by replacing the rotors on your car or truck at home, you will also save lots of money. Ultimately, there is a peace of mind knowing that the job was done correctly.
What is a Brake Rotor?
Modern cars almost universally utilize disc brake systems, at least for the front wheels. Disc brakes, also called rotors, are used to stop or slow down a vehicle using hydraulic pressure. When the driver depresses the brake pedal, pressure in the system forces pistons inside the brake calipers against the back of the brake pads. Brake pads then rub against the rotors, creating friction and deceleration.
Disc brake systems began slowly replacing drum brakes, at least on front wheels in the 50s but only began to be widely used in the 60s. Disc brakes are now commonly used because they are reliable, easy to repair, and cost-efficient to produce.
When problems arise with your brakes, identifying the cause of the issue and fixing it as soon as possible is vital. Obviously, driving with a faulty brake system is never a good idea.
Symptoms of Failing Brake Rotors
We all heard cars pulling to a stoplight squealing like nails on a chalkboard. While this squealing sound is often a good sign of a brake problem, it's more frequently related to worn brake pads than worn rotors. However, since rotors need to be replaced when replacing pads, it's pretty much the same thing.
Rusty rotors may, of course, produce a similar noise.
A symptom more closely related to faulty rotors is a shaking steering wheel or brake pedal when braking. For the system to work correctly, the discs must be flat. If they warp, the steering will shake when braking.
Why would the rotors warp, you may ask? Well, that usually happens when the rotors' temperature goes beyond the normal operating threshold. Such a condition may happen whenever performing an emergency stop or if the brake pads are jammed in their holders and don't retract properly when releasing the brake pedal.
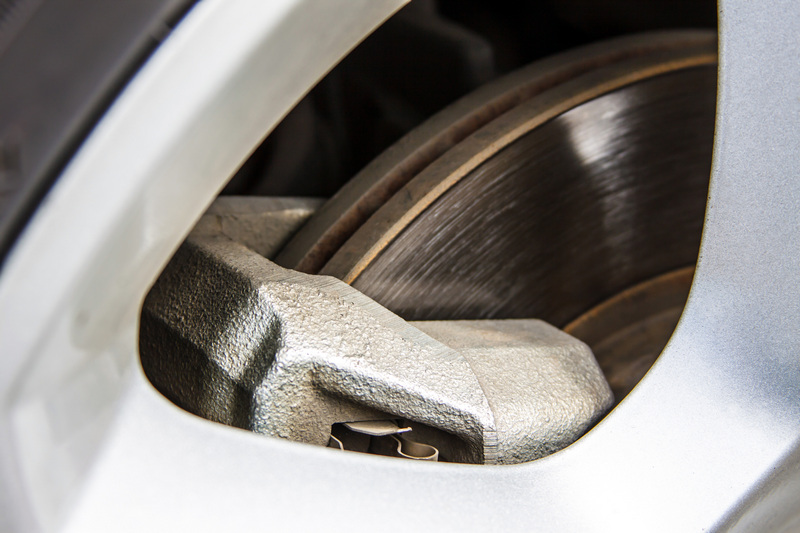
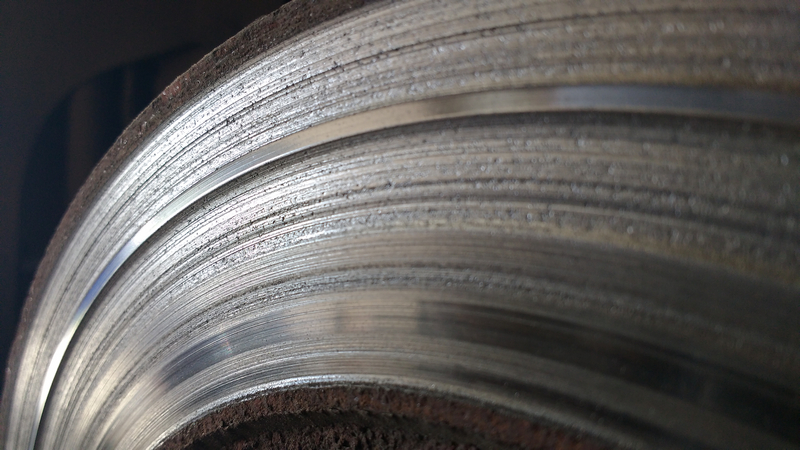
Luckily, it is often possible to see damage to the brake rotors without even removing the wheel. Deep grooves will indicate excessive damage to the rotor. Burned spots, cracking, and a glossy, mirror-like surface may also require the rotors to be replaced.
On the other hand, warping may not be visible to the human eye. In all cases, if your steering wheel or brake pedal is shaking while depressing the brake pedal, your rotors are warped.
How to Identify Faulty Rotors
If your car is equipped with a 4-wheels disc brake system, identifying if the problem comes from the front or the rear rotors may be tricky. However, here's a neat little trick to rule it out:
- If the steering is shaking, it comes from the front. Real wheels are simply not connected to the steering.
- If the pedal is shaking, it could come from both. So try slowly engaging the hand brake while driving 10-20 km/h. If the read end of the car starts to shake, the problem comes from the rear brakes since the hand brake is only connected to the rear wheels.
Simple, right? However, keep in mind that, if your car is equipped with an electric emergency brake, you won't be able to slowly engage it. In that case, you'll need to visually inspect the rotors. In some cases, the front rotors might be full of rust while the rear ones look fine. If you can detect any visual indication of warping, you'll need to use a dial indicator instead and compare the reading with the runout specifications found in your car's repair manual.
Average Brake Rotors Replacement Cost?
Rotors replacement cost will depend on several factors, like the manufacturer, model, year of the vehicle and the size of the brakes. Smaller cars, like a 2012 Honda Civic, will have smaller and less-expensive rotors than a large luxury sedan like a 2015 Mercedes-Benz C-Class or a pickup truck like the 1992 Ford F-150.
Similarly, rotors on older cars will usually be more affordable but only if the vehicle was a popular model. For example, disc brakes on a 2004 Civic will probably cost less than those for a 2016 model. However, rotors for a 1992 Jaguar will probably cost more than a recent model. The main reason being that Honda and aftermarket manufacturers still make tons of components for its older Hondas, while nobody is currently focusing on making parts for a 92 Jag.
2012 Honda Civic
Compact cars like the Honda Civic have smaller rotors and are often inexpensive to replace. Older, affordable vehicles, like 2012 Honda Civics, used thin and lightweight rotors to reduces unsprung weight while improving suspension, steering, and fuel mileage. The downside with such rotors is that they usually wear out faster, and don't resist well to higher temperatures.
But, they are quite cheap!
A high-quality pair of front Bosch rotors cost $32.79 with a matching pair for the rear at $20.99. If you are on a severe budget, entry-level rotors from Durango cost only $13.39 for the front and $10.99 for the rear axle.
2015 Mercedes-Benz C-Class
This big, luxury cruiser has substantially larger brakes than the Honda mentioned above. If you are replacing the brake rotors on a car like this, you might expect to be paying a lot more. Budget rotors are available for this vehicle for around $40, but moving up to a slightly better quality brake rotor isn't that much more expensive.
A set of Bosch disc brake rotors for the front run $79.99, while a set of rear brakes cost $54.79. These rotors are similar in quality to the rotors initially installed by the manufacturer and are a good choice for most drivers.
On the other hand, if what you want is OEM Mercedes-Benz rotors, you should expect to pay as much as $156 a piece!
1992 Ford F-150
A pickup truck will have large, heavy-duty brakes. Older vehicles, like this Ford F-150, also use serviceable brakes. The downside to thicker rotors, aside from the extra weight, is that they are prone to noisiness. Ford may have had a best seller with the F-150, but it sure came with loud brakes.
Rotors for the front for this truck will cost $46.79 from Motorcraft, the original manufacturer. Trucks this old did not typically have rear disc brakes. They instead use drum-style brakes, which also must be inspected and replaced when worn.
How to Replace Brake Rotors
Safety First! Never work on a vehicle supported only by a floor jack. Always use a jack stand that is capable of holding your vehicle safely. Also, make sure you have the stand placed on the jacking points of your vehicle.
Remove the Wheels
If you don't have access to an impact gun, it's often easier to loosen the lug nuts while the vehicle is on the ground, then jack and support the car safely before removing the wheels and tires. Once the wheels are off, think about sliding them under the car for an extra layer of protection.
Now is a good time to inspect your tires for wear and damage. It's also an excellent opportunity to clean your wheels from brake dust if you haven't in a while. Brake dust being mostly metallic particles may cause rust marks if left on mag wheels for long.
Removing the Brake Caliper
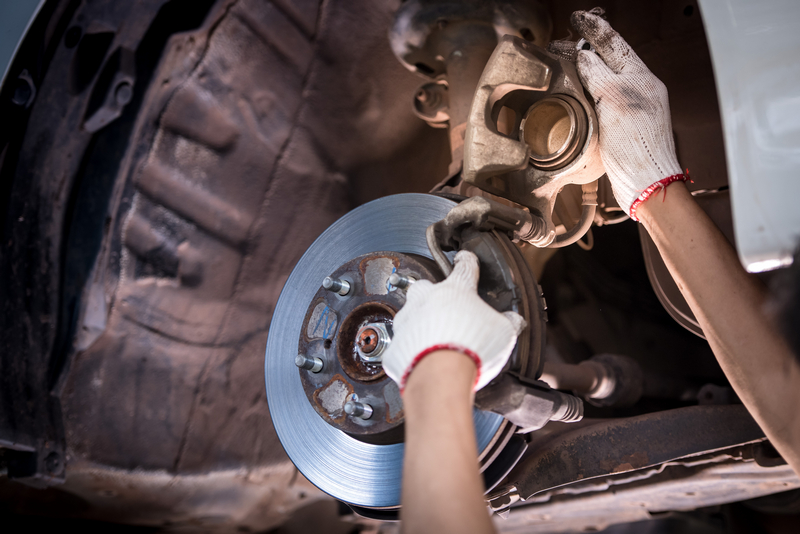
The caliper mounts with two bolts to the knuckle so that the pads "float" on the rotor. The caliper can be unbolted and supported without removing it from the vehicle. Do not let the caliper hang from the rubber brake line, or you might seriously damage the hoses, ultimately leading to brake failure.
Once the calipers off, remove the brake pad holders from the knuckles.
Also, keep in mind that you should always replace brake pads when servicing or replacing brake rotors. Re-using old pads with new rotors will significantly reduce the lifespan of both components.
Removing the Rotor
Rotors on recent vehicles using wheel bearing assemblies are only sitting on the knuckles. In the best-case scenario, you should be able to just pull and take them off. In some cases, the rotors might be held in place with two small screws. Unfortunately, these screws are often stuck there and you might need to remove them using an impact screwdriver. If the head strips, you can always drill the screws or, as I would do, use a huge hammer and break the rotors in 2-3 parts.
If you had to drill them, no need to bother re-installing the screw as the rotors will be held in place when the wheels are put back on anyway.
Vehicles with tapered roller bearings
If you are unfortunate enough to still own a car with bearings installed inside the rotors, you'll need to remove the bearings first. This type is also often used on large trucks to make replacing the bearings easier.
Remove the grease cap in the center of the rotor. Behind will be a knurled nut with a cotter pin. Remove the cotter pin, then loosen the nut. Most vehicles do not torque axle nuts, so this nut should come off relatively easy. With the nut removed, jiggle the rotor until the rotor pops loose. Grab the bearing, and place it somewhere clean; you don't want to have dist or dirt getting in there!
Also, don't forget to inspect the bearings and replace them if needed. If not, clean them with brake cleaner and pack them with fresh grease before putting them back on. If your vehicle is equipped with a fixed axle, you might want to replace the axle oil seal while you're there.
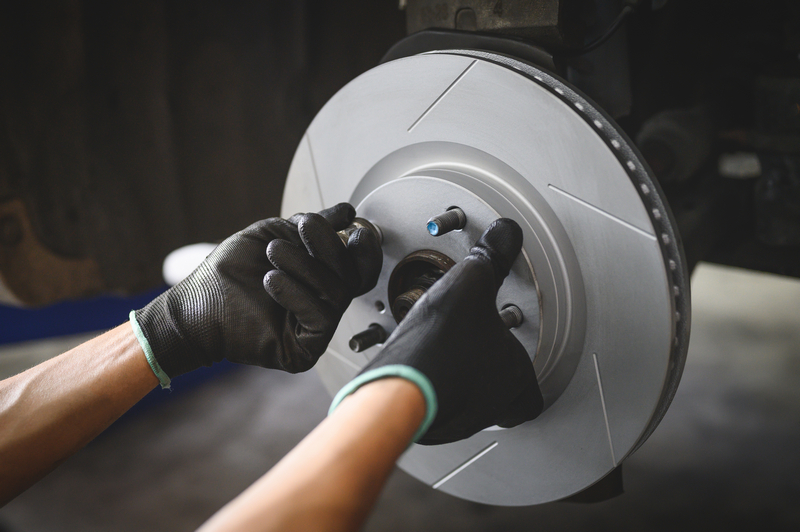
Preparing New Rotors
It's not a bad idea to take a set of brand-new rotors to an auto parts store and have them mounted on the turning machine. The tech can skim the slightest bit off the rotor to ensure the surface is perfectly flat. You wouldn't believe how many times brand-new rotors have to be turned within a few thousand miles because of manufacturing mishaps that can be caught by a quick skim.
Make every effort to avoid touching the braking surface of the rotor. Even the oils from your fingers can soil the rotor. Of course, re-installing new rotors without touching them might be tricky. In that case, you can either wear clean nitrile gloves or simply don't bother at all, install them, and wipe them with brake cleaner when it's all over.
Most rotors come covered with some kind of greasy film on them to prevent rusting while in storage that needs to be cleaned off anyway.
Re-Installing Brake Pads
Since we assume that you'll be replacing brake pads at the same time as your rotors, like it should be, the next step is to re-install the new pads. However since we have already covered that step in a previous post, we won't be repeating it all over again. We'll just save some time and redirect you to the post below instead. ??
Brake Pads Replacement | Auto Mechanics 101
Re-Installing the Caliper
Since you'll be installing new pads, you'll need to first compress the pistons in the caliper to get the assembly to fit over the new rotor. Several tools might help you do that. Often, you can use a wooden dowel to press the piston into the caliper, refit the pad, then install the caliper on the rotor.
I personally use a pair a large jaw pliers but there's also a tool specifically made for this purpose. Ask your auto parts store clerk. He should be able to point it out. The tool is quite inexpensive; it's only that professional mechanics already have a pair of big ChannelLocks in their tool chest that works well enough anyway.
Never beat, bang, pry or force the caliper onto the rotor. Doing so may potentially damage the piston seal and cause brake fluid leaks. And trust me, you don't want to experience a brake leak on the road!
Warning
With recent technollogical advancements, newer cars come equipped with increasingly more intricate brake components. ABS systems is a good example of that but we are seeing more and more vehicles with self-driving and ADAS (Advanced Driver-Assistance Systems) features. For these systems to be able to do their job, the braking system on your vehicle may be connected to different modules that might require a specific procedure to retract the caliper pistons. When in doubt, make sure to check the manufacturer's recommended procedure in your car's repair manual before doing anything or you might damage really, really expensive components.
Re-Installing Everything
Once the caliper is installed, all that is left to do is mount the wheels. Use a torque wrench and follow the correct wheel torquing pattern for your vehicle.
Furthermore, your brakes will need to be "broken in" for several miles. Essentially, though, the best way to break in new rotors and pads is to drive around with your car.
Conclusion
Replacing brake rotors is not a difficult job to complete at home and rotors replacement cost are usually fairly low. Most vehicles' rotors are designed to be really easy to replace, the parts themselves are generally easy to find and, in most cases, you'll only need very basic tools. Once again, though, if you are unsure about the right procedure to follow for your specific vehicle, makes sure to keep a copy of your car's repair manual by your side while you work and you should be good to go!
Good luck!
