Winter’s just around the corner, which means more cozy dinners, extra baking, and let’s be real—a lot more pressure on your appliances. If you’d rather avoid last-minute repair calls or unexpected breakdowns, a few simple checks can keep everything running like a champ. Plus, who doesn’t want to be the hero who fixed the fridge before the holiday chaos?
In this guide, we’ll break down simple DIY steps to winterize your kitchen. From keeping your fridge working at its best to making sure your oven’s ready for heavy-duty holiday meals, these tips will help you avoid last-minute surprises and keep things running smoothly all season.
Ready to take on winter the smart way? Let’s get your kitchen prepped and ready to roll!
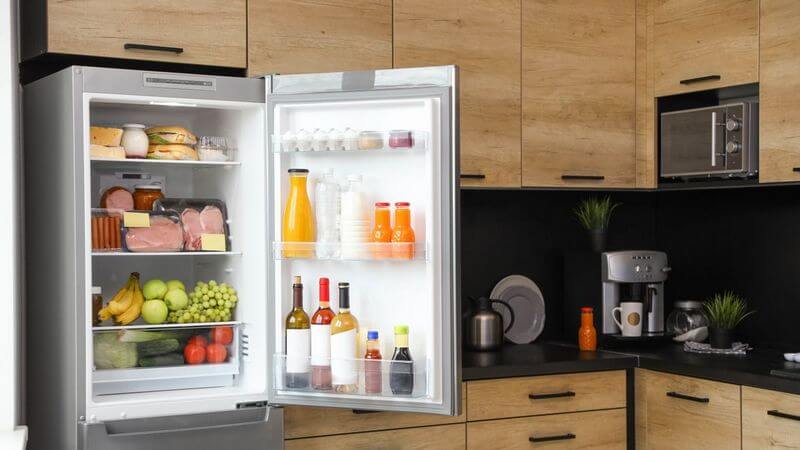

Winter-Proof Your Fridge and Freezer: Keep It Cold, Keep It Efficient
Winter might cool things down, but your fridge and freezer still need some TLC to keep them running right. Follow these easy, DIY steps to make sure your food stays fresh and your energy bill stays low all season.
- Set the Right Temperature: Keeping your fridge at 35-38°F and freezer at 0°F not only ensures food stays fresh, but it also prevents the compressor from overworking and keeps your energy bill low. Adjusting these settings takes seconds and can save you up to 10% on energy costs over the winter.
- Give the Coils a Quick Clean: Let’s get real—nobody wants a fridge breakdown when it’s packed with holiday leftovers. A quick coil clean-up (yep, that dust matters!) keeps it running smooth and energy-efficient. Just think of it as a little tune-up before the holiday rush—your fridge will thank you, and so will your wallet.
- Defrost the Freezer: If there’s a layer of frost building up, it’s time for a defrost. Unplug, clear out the food, and let the ice melt naturally. This prevents frost from choking the airflow and helps keep your freezer efficient.
- Check the Door Seals: Leaky seals mean cold air escaping—and money out the door. Close the door on a dollar bill; if you can pull it out easily, the seals might need replacing. New gaskets are cheap and help keep the cold in where it belongs.
- Insulate Water Lines: If you’ve got a water line for ice or a dispenser, wrap it with foam insulation to prevent freezing—especially if your fridge is in a chilly area. It’s a quick job that saves you from annoying (and messy) bursts.
- Keep It Clear: Don’t pack the shelves too tightly—good airflow is key to keeping everything at the right temp. Leave some space between items, and avoid overloading so the fridge doesn’t have to work overtime.
With these simple maintenance steps, your refrigerator and freezer will stay winter-ready, keeping your meat, fruits, and leftovers fresh all season long.
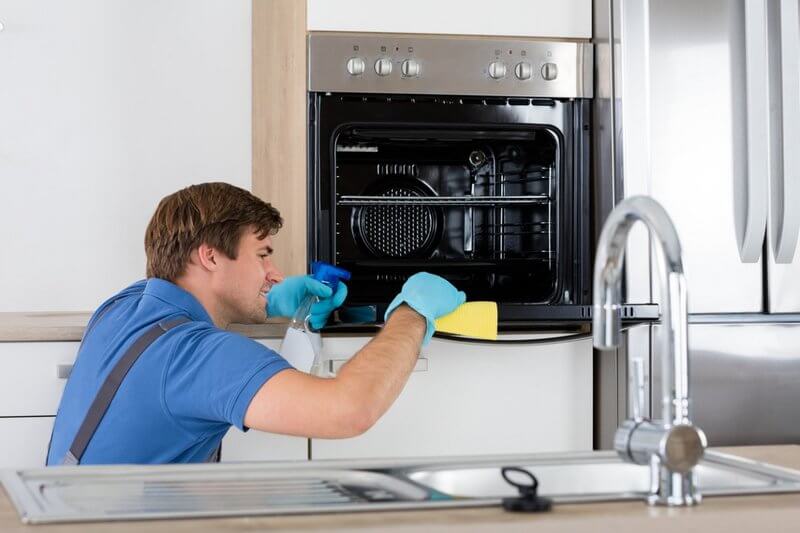

Get Your Oven and Stovetop Ready for the Holiday Rush
With more baking, roasting, and simmering on the horizon, winter is prime time for your oven and stovetop. Here’s how to get them prepped for everything from weeknight dinners to full-on holiday feasts.
- Clear the Burners for Top Heat Output: Grease and gunk buildup can choke your burners, making them less effective. Take off the grates, scrub each burner, and if you’ve got a gas stove, use a pin to clear any clogged holes. Reassemble and test for an even flame—clean burners mean faster, more even cooking.
- Deep Clean the Oven Interior: Regularly cleaning your oven interior prevents buildup that forces it to use more energy to reach and maintain temperature, which can increase energy costs over time. A clean oven heats more evenly, helping you avoid costly repairs due to overheating or buildup around the heating elements.
- Double-Check Your Oven’s Temperature Accuracy: An oven that runs too hot or cold can mess up your recipes. Place an oven thermometer inside, preheat to 350°F, and see if it matches up. Off by more than 10-15°F? Time to recalibrate (your manual will show you how). A calibrated oven means reliable cooking every time.
- Stay Safe with Gas Leak Checks: Got a gas oven? Make sure it’s not sneaking carbon monoxide into your kitchen. Keep a detector nearby, and if you notice a yellow flame, weird smells, or ignition problems, call in a pro to inspect. Better safe than sorry.
- Tighten Up the Door Seal: Heat escaping through a loose door seal is money out the window. Try the dollar-bill test: close the door on a bill—if you can pull it out easily, the seal might need replacing. A snug door means even cooking and less wasted energy.
- Ventilation Matters: Clean the Range Hood Filter: In winter, with windows closed, your range hood has to work overtime to keep smoke and steam at bay. Soak the filter in soapy water or degreaser, let it dry, and pop it back in. Run the fan to make sure it’s pulling properly.
By prepping your oven and stovetop now, you’ll enjoy smooth, reliable performance all winter, ready for everything from weeknight dinners to big holiday spreads.
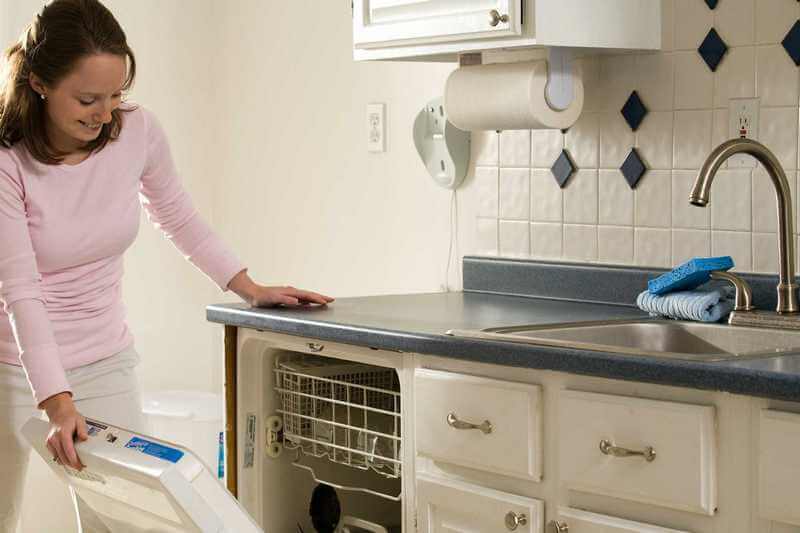

Keep Your Dishwasher Running Strong This Winter
With the colder months here, your dishwasher might be working overtime. A few quick maintenance steps will keep it efficient and ready to handle all those extra dishes.
- Clean the Filter for Top Performance: Grease and food particles build up in the filter and can leave your dishes less than spotless. Twist out the filter (usually at the bottom), rinse under warm water, and scrub away grime with a soft brush. A clean filter keeps blockages away and ensures everything comes out sparkling.
- Run a Quick Deep Clean: Hard water and grease can leave a residue that affects cleaning power. Place a bowl of white vinegar on the top rack, run a hot-water cycle, then sprinkle baking soda on the bottom and do a quick rinse cycle. It’ll freshen things up and keep your dishwasher running efficiently.
- Unclog the Spray Arms: Clogged spray arms mean water doesn’t reach every dish. Remove them and poke out food particles with a toothpick or soft brush, then give them a spin to make sure they’re moving freely before you pop them back in.
- Tighten Up the Door Seal: A snug seal keeps water in and energy use down. Check the rubber gasket for cracks or grime; if it’s dirty, wipe it down with a damp cloth. Replace if needed to avoid leaks and improve efficiency.
- Clear the Drain: Food debris in the drain can lead to clogs and funky smells. Remove any gunk you see, then pour a bit of baking soda and vinegar down the drain to clear it out. Keeping the drain clean keeps your dishwasher running smoothly.
- Combat Dry Winter Air with a Rinse Aid: Dry air can leave spots on your glassware. Add a rinse aid in the dispenser, and it’ll help water slide off your dishes, leaving them spotless even in the winter months.
- Get the Right Water Temperature: Hot water (around 120°F) is key for clean dishes. Run hot water in your sink before starting the dishwasher so it starts with hot water right away. It’s a small step that makes a big difference.
With these simple steps, your dishwasher will be ready for the holiday load, delivering sparkling dishes without the hassle. A bit of care now means you can skip last-minute scrubbing and spend more time enjoying the festivities!
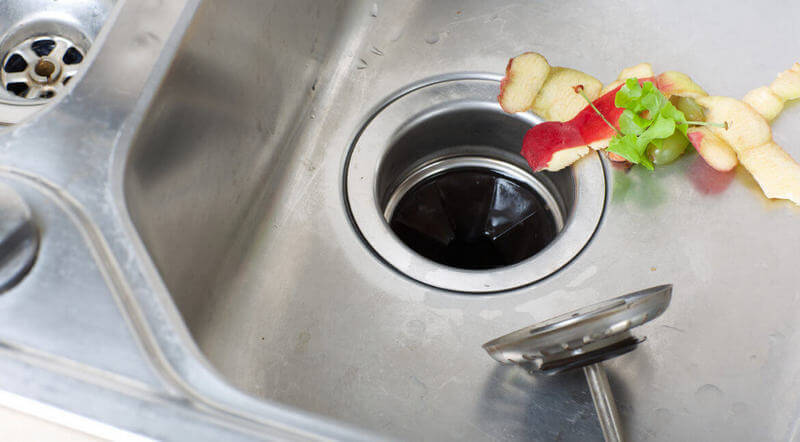

Protect Your Garbage Disposal from Winter Clogs
The more you cook, the more you need to rely on your garbage disposal. With colder weather, grease and food particles can harden faster, leading to clogs. Here’s how to keep your disposal running smoothly all winter.
- Flush with Hot Water: Run hot water down the drain for about 30 seconds before and after each use to keep grease and particles flowing smoothly. Avoid boiling water, as it may damage certain seals and parts in the disposal.
- Grind Ice Cubes to Sharpen Blades: Drop a handful of ice cubes into the disposal, turn it on, and run cold water. The ice helps sharpen the blades and clear away small bits of debris, keeping the disposal clean.
- Freshen Up with Citrus Peels: Toss a few small citrus peels (like lemon or orange) into the disposal and run it with cold water. The oils help break down grease and leave a fresh scent. Use small pieces to prevent clogs.
- Avoid Disposing of Grease, Fat, and Starchy Foods: Throwing grease and starchy foods down the disposal leads to clogs, which can require costly plumbing services to fix. Avoiding these items not only keeps your garbage disposal working smoothly but also prevents you from dealing with unexpected repair bills
- Deep Clean with Baking Soda and Vinegar: Once a month, pour ½ cup of baking soda followed by 1 cup of vinegar down the drain. Let it fizz for 5-10 minutes, then flush with hot water. This natural cleaner breaks down residue and clears buildup.
- Clean the Splash Guard: The rubber splash guard can trap food particles and odors. Turn off the disposal, lift the edges of the guard, and scrub underneath with dish soap. Rinse well to keep smells at bay.
By giving your garbage disposal a little extra care, you’ll avoid winter clogs and keep your kitchen smelling fresh throughout the season.
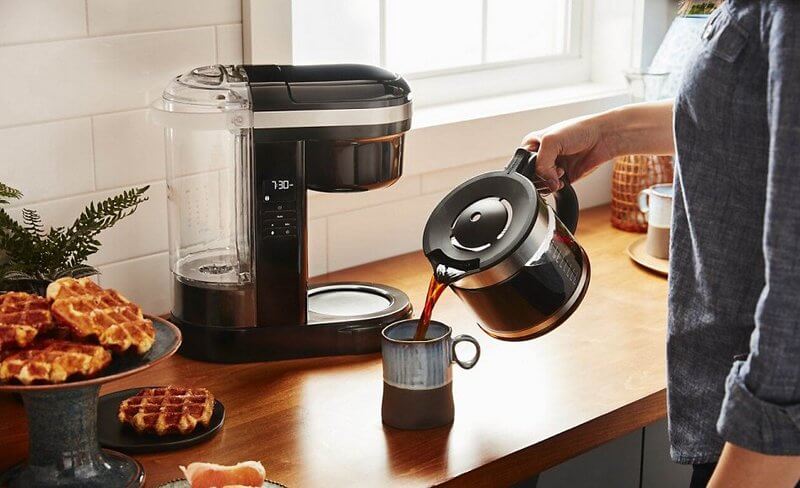

Winterize Your Coffee Maker for Cold Mornings
Nothing beats a warm cup of coffee on a chilly morning. With a little prep, you can keep your coffee maker running smoothly and brewing great-tasting coffee all winter long.
- Descale to Remove Mineral Buildup: Mineral deposits don’t just impact coffee flavor—they can also make your coffee maker work harder and reduce its lifespan. Regular descaling keeps your machine running efficiently and avoids costly replacements. Plus, a clean coffee maker uses less energy to heat water, which saves you money in the long run.
- Clean the Water Reservoir: Winter condensation can lead to mold. If the reservoir is detachable, wash it with warm, soapy water. For non-detachable ones, fill with soapy water, scrub with a soft brush, rinse, and air dry completely before reattaching.
- Wash Removable Parts: Parts like the filter basket and carafe collect oils and residue. Wash with warm, soapy water and scrub any buildup around edges. Rinse thoroughly and let dry before reassembling.
- Replace the Charcoal Water Filter: If your coffee maker has a charcoal filter (usually in the water reservoir), replace it every few months. This keeps water fresh and improves taste.
- Run a Test Brew: Run a full cycle without coffee grounds to clear out any cleaning residue and ensure smooth operation. Check for odd noises or delays, which could indicate an issue needing attention.
- Store Properly If Not in Regular Use: For occasional use, store the coffee maker in a dry, room-temperature spot. Empty the reservoir and dry all parts to prevent mold. Daily-use machines should stay away from drafts to avoid temperature drops.
- Check the Brewing Temperature: Cold kitchens can impact brewing temperature. For the best flavor, coffee should brew between 195°F and 205°F (90°C - 96°C). If it’s not hot enough, try pre-warming the carafe with hot water or move the machine to a warmer area.
Just remember, a little maintenance goes a long way in ensuring you can enjoy those comforting brews on chilly mornings.
Get Cozy with a Winter-Ready Kitchen
Winter’s already got its fair share of curveballs—from surprise snowstorms to holiday to-do lists a mile long. The last thing you need is an appliance going haywire in the middle of it all. By giving your kitchen a little TLC now, you’re setting yourself up for smooth, stress-free winter cooking (and maybe even a bit more relaxation time).
So grab that screwdriver, a soft brush, or just a bottle of vinegar, and tackle these quick maintenance tips. Your appliances will thank you by running better, lasting longer, and keeping the holiday chaos at bay. Plus, you’ll save a few bucks along the way and feel pretty darn accomplished every time you open your well-organized fridge or pull a perfectly roasted meal from your oven.
Get ahead of the season, enjoy a kitchen that works as hard as you do, and let the winter memories begin—minus the last-minute repairs.
