
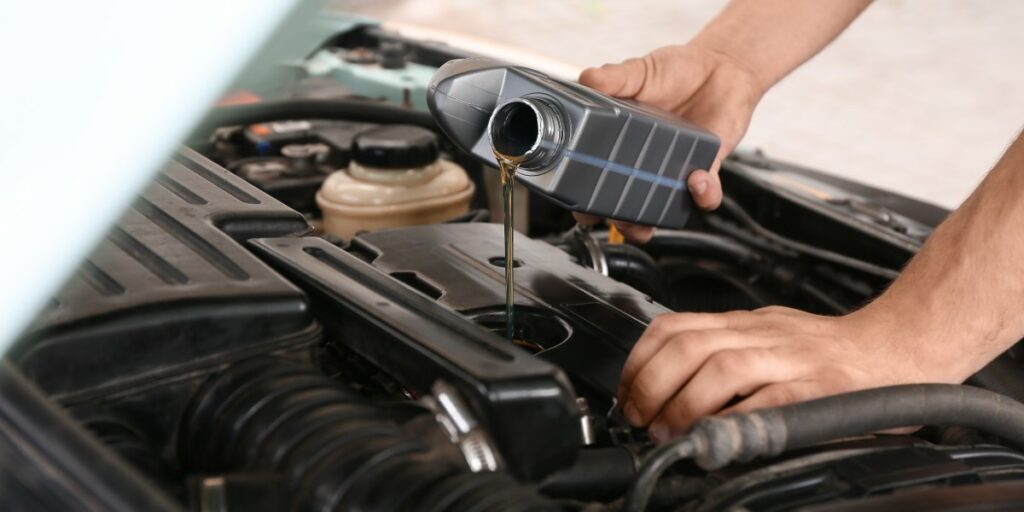
An oil change is the most frequent job on any maintenance schedule and one of the easiest to do at home. Shops typically charge between $60 and $120 for the work, and doing it yourself costs the price of oil and a filter, which is usually $30 to $50 depending on what your engine takes.
The whole job takes about forty minutes the first time, here’s how it goes.
What You’ll Need
- Engine oil in the correct grade and quantity for your vehicle
- A new oil filter
- A new drain plug washer, since many vehicles use a crush washer designed for one use
- A drain pan large enough for your engine’s capacity
- A socket or wrench for the drain plug
- An oil filter wrench in the right style for your filter
- A funnel
- Jack and jack stands, or ramps
- Gloves and rags
Check your manual for the oil grade, the capacity, and the filter part number before you buy anything. Grades are engine-specific, and modern engines with variable valve timing are particularly sensitive to running the wrong viscosity.
Step 1: Warm The Engine Briefly
Run the engine for about five minutes. Warm oil flows more freely and carries more of the suspended contaminants out with it. Don’t run it to full operating temperature, because you’ll be working near components that get hot enough to burn you.
Shut it off and give it a few minutes to drain back into the sump.
Step 2: Lift And Support The Vehicle
Park on level ground, chock the wheels, and lift the front of the vehicle at the manufacturer’s lift points. Put jack stands underneath and lower the vehicle onto them. Never work under a vehicle held up by a jack alone, since hydraulic seals fail without warning.
Some vehicles have enough clearance to work underneath with all four wheels on the ground, and ramps are a good option where the drain plug and filter are both reachable from the front.
Step 3: Drain The Old Oil
Locate the drain plug on the bottom of the oil pan and position the drain pan underneath, allowing for the fact that oil comes out at an angle at first and drops straight down as the flow slows.
Loosen the plug with a socket, then back it out by hand for the last few turns. Keep upward pressure on it as it comes free so the plug doesn’t drop into the pan of hot oil. Let it drain for ten to fifteen minutes until the flow slows to occasional drips.
Wipe the plug clean, fit a new washer, and reinstall it to the torque figure in your manual. Oil pans on modern vehicles are often aluminum, and over-tightening strips the threads, which turns a routine service into a pan replacement or a thread repair.
Step 4: Replace The Oil Filter
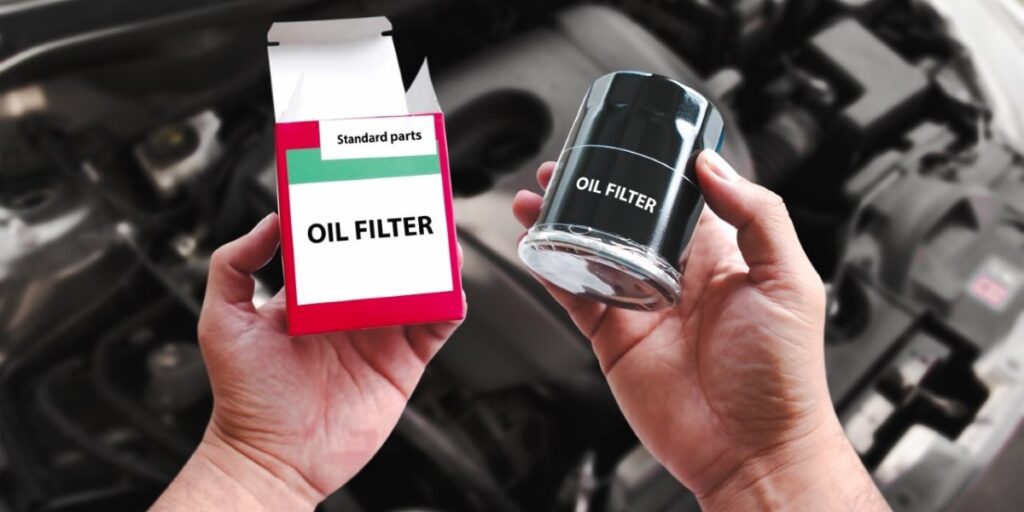
Position the drain pan under the filter, because more oil comes out than you’d expect.
- Spin-on filters unscrew with a filter wrench. Before fitting the new one, wipe the mounting surface clean, check that the old rubber gasket came away with the old filter, and smear fresh oil on the new filter’s gasket. Thread the new filter on by hand until the gasket contacts the housing, then tighten it a further three quarters of a turn by hand. A filter wrench isn’t needed for installation and frequently leads to over-tightening.
- Cartridge filters sit inside a housing accessed from above or below. Remove the cap, lift out the old element, replace every O-ring supplied in the kit, fit the new element, and torque the cap to the specification. The O-rings matter here, since a reused one is a common source of leaks.
Step 5: Add The New Oil
Lower the vehicle, open the hood, and remove the oil filler cap. Pour in slightly less than the full capacity, since the figure in the manual usually includes the filter and you’ll want to check the level before topping off.
Wait a minute for it to settle, then check the dipstick. Add in small amounts until the level sits between the minimum and maximum marks. Overfilling causes foaming and pressure problems, so approach the upper mark from below.
Refit the cap.
Step 6: Run And Check
Start the engine and let it idle for a minute. The oil pressure light should go out within a few seconds. Look underneath for leaks at the drain plug and the filter while it runs.
Shut the engine off, wait five minutes for the oil to drain back down, and check the dipstick again. The level usually reads slightly lower once the filter has filled, so top off as needed.
Step 7: Reset And Record
Reset the service reminder if your vehicle has one, following the procedure in your manual, since the sequence differs between manufacturers and some require a scan tool.
Write down the date, mileage, oil used, and filter fitted. That record tells you when the next change is due, supports your warranty, and adds value when you sell the vehicle.
Take the used oil and filter to a recycling point. Most auto parts stores accept both at no charge.
Step 8: Dispose And Tidy
Seal the used oil in the original containers or a dedicated waste container. Never pour it down a drain or onto the ground, since a single oil change contaminates a very large volume of water and it’s illegal in every state.
Get The Specifications For Your Vehicle
Oil grade, capacity, filter part number, drain plug torque, and the service reset procedure are all specific to your engine and model year. At emanuals, you get online vehicle repair manuals with the manufacturer’s own figures and procedures, searchable across a library of more than 5 million OEM titles and downloadable to keep. Browse the library and start servicing your vehicle to the specification it was built around.
FAQs
How often should I change my oil?
Follow the interval in your manual, which is commonly between 5,000 and 10,000 miles for modern engines on synthetic oil. Vehicles that tow, sit in traffic, make short trips in cold weather, or run in dusty conditions should follow the severe service schedule, which shortens the interval.
What happens if I overfill the engine oil?
Excess oil can be whipped into foam by the crankshaft, which reduces lubrication and raises pressure in the crankcase. Symptoms include leaks at seals and, in bad cases, oil drawn into the intake. Drain the excess back down to the correct level.
Do I need to change the filter every time?
Yes. The filter holds contaminants removed from the oil, and a used filter also retains a quantity of old oil that mixes straight into your fresh oil. Filters are inexpensive, and skipping one saves very little.
How tight should the oil drain plug be?
To the torque figure in your manual, which is typically between 20 and 30 ft-lbs for most passenger vehicles. Aluminum oil pans strip easily, so a torque wrench is worth using here.
Can I use a different oil grade than specified?
Use what the manufacturer specifies. Modern engines have tight tolerances and systems such as variable valve timing that depend on oil flowing at a particular viscosity, and the wrong grade affects both performance and long-term wear.